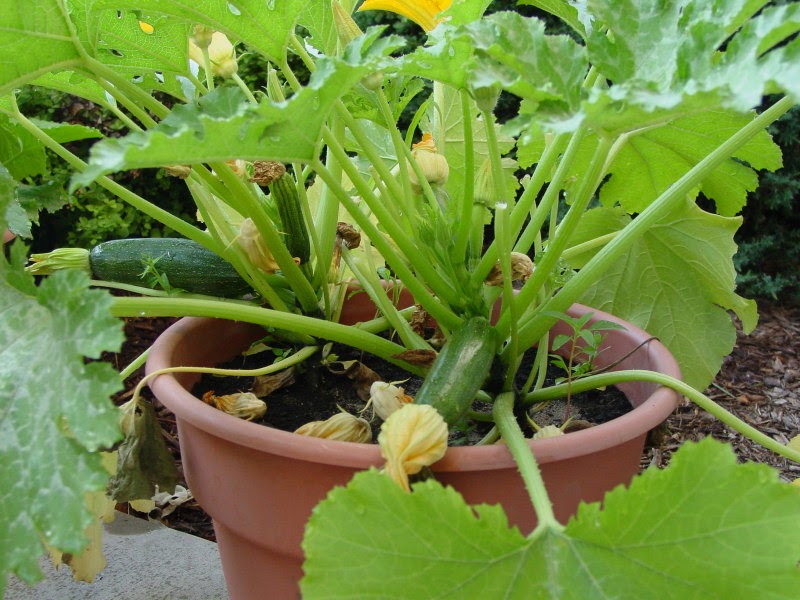
Well my small garden is starting to explode with zucchini and I had a craving for some kind of Chicken, zucchini and lemon dish. I searched around the fridge and found some asparagus. I always cook asparagus the same way with this recipe. http://allrecipes.com/recipe/roasted-asparagus-with-shallots/detail.aspx but i really wanted to do something different with it for once. If I haven't ever told you I LOVE allrecipes.com!!!!! The search by ingredient feature is amazing!!! So nice when you want to use what you have in the pantry. OK back to the point......
I whipped up this dish last week. Since it's just my husband and me at home this recipe serves 2.
Chicken, Asparagus, and Zucchini Skillet
Ingredients
3 tablespoons olive oil
1/2 teaspoon dried basil
1/8 teaspoon dried oregano
1 1/2 cloves garlic, minced (I love Garlic so I used 4 cloves ;)
Juice from 1 lemon
1/4 cup white wine (or more if you want, i just kept adding it when the liquid cooked down)
1/4 cup low sodium chicken broth
2 skinless, boneless chicken breast halves, diced
1/2 pound fresh asparagus, trimmed and cut into thirds
1 cup sliced fresh zucchini
Salt and Pepper to taste
Red pepper flakes to taste
Directions
1.Heat the olive oil in a skillet over medium-high; Cook diced chicken till no longer pink and juice runs clear. Then stir in the basil, oregano, garlic, lemon juice, chicken broth and wine. Season with salt, pepper and red pepper flakes. Reduce heat to medium; cook, stirring occasionally about 10 more minutes.
2.Add the asparagus; cook and stir until the asparagus is bright green and just starting to become tender, about 3 minutes. Stir in the Zucchini and cook an additional 3 minutes. Serve hot over brown rice or noodles.
You could add any veggies, even mushrooms. We are a mushroom free house (the husband won't touch them) so I never cook with them but am sure they would be great in this. Also bell peppers, or onions........
Tuesday, July 12, 2011
Friday, July 8, 2011
Stamping on fabric- A last minute baby shower gift
So I had been planning on making these custom onesies for a baby shower the last few months and then SURPRISE!!! it's this weekend. So I went out and bought some plain white onesies and a few stamp pads. I saw allot of blogs recommending the VersaCraft pad but I needed to find something local and ended up with the ColorBox CRAFTER'S inks. I was going for a motocross/ dirt bike theme and had bought the perfect rubber stamp. I also bought a diecast dirt bike to use the wheels as a stamp (I am putting the dirt bike into the gift basket).
I started by practicing on an old t-shirt to see how much ink and pressure I needed to get the results I wanted. You don't want to press your stamp into the ink, instead tap your stamp lightly and repeatedly onto the ink pad. I had no trouble while working on the onesies, just pressed the stamp firmly down and held for a few seconds. It was so much easier than i thought.
I also tried to stamp using fabric paint and had no luck. I could not get crisp edges with the paint. I am sure there is a trick but I haven't tried very much yet.
YOU MUST HEAT SET fabric ink to make it permanent. When the ink is completely dry, use a hot dry iron and iron each stamped area for 2 minute's. I used a piece of parchment paper on top of the onesies between the iron and the fabric. It is also important to wait a week or two before washing.
Here they are.....
I started by practicing on an old t-shirt to see how much ink and pressure I needed to get the results I wanted. You don't want to press your stamp into the ink, instead tap your stamp lightly and repeatedly onto the ink pad. I had no trouble while working on the onesies, just pressed the stamp firmly down and held for a few seconds. It was so much easier than i thought.
I also tried to stamp using fabric paint and had no luck. I could not get crisp edges with the paint. I am sure there is a trick but I haven't tried very much yet.
YOU MUST HEAT SET fabric ink to make it permanent. When the ink is completely dry, use a hot dry iron and iron each stamped area for 2 minute's. I used a piece of parchment paper on top of the onesies between the iron and the fabric. It is also important to wait a week or two before washing.
Here they are.....
Labels:
baby shower gift,
dirt bike,
motocross,
stamping fabric
Subscribe to:
Posts (Atom)